
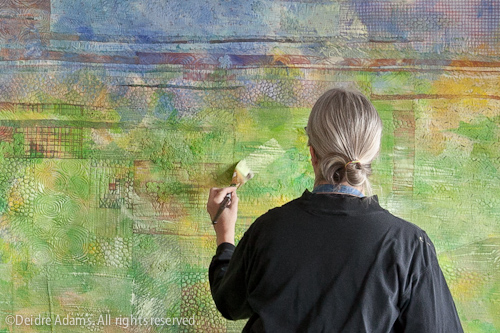
Did I say the quilting was my favorite part? No, that’s not right. It’s really the painting … or is it? There are very few aspects of creating art (as opposed to aspects of marketing and selling art) that I don’t love. I did find one this time, though – more about that later. But here – even from the back – I look happy and serene, don’t I?
Once bound, the quilt goes back on the wall for painting. I now need to give it a few more layers of white. This helps prepare the surface to take more paint, and it starts to begin the unifying of all those crazy colors and patterns that don’t really go together very well – okay, not at all.
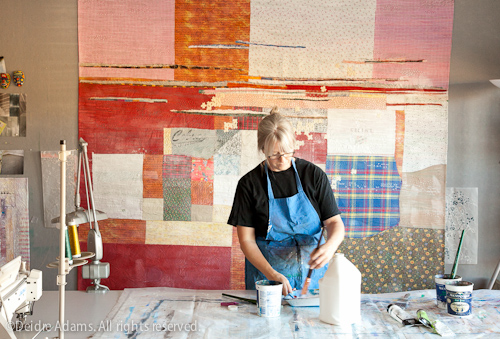
One of the questions I’m most often asked is, “What kind of paints do you use?” The answer is artist’s acrylic. I don’t use textile-formulated paints because I’m not interested in maintaining the “hand” (original soft drapy feeling) of the fabric. No one’s going to be wearing this or putting it on a bed when I’m done. For the first few layers, I use inexpensive Liquitex Basics. When I’m nearing the end, working on the topmost layers, I bring out the Golden brand acrylics. These cost more, but they have the best color and coverage, so you don’t need to use as much.
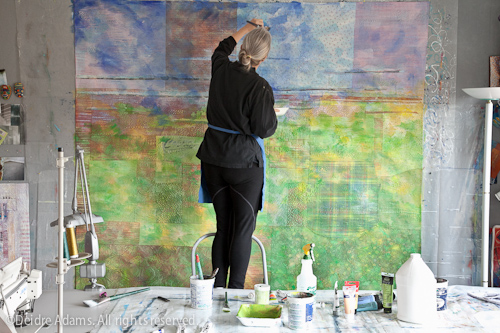 Rather than working in one area until it’s finished, I work all over in stages, adjusting each area relative to all the others as I go. It makes for a lot of climbing up and down for a large piece, but as you can see, I really need the exercise.
The best way to tell the rest is to show:
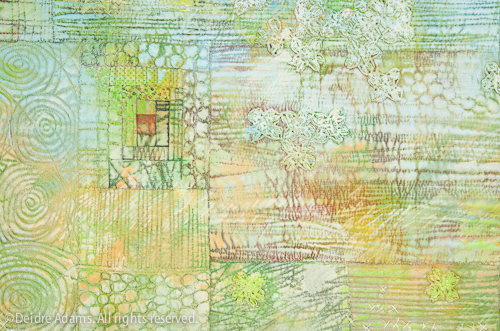
There are a few details I want to point out. The first comes from the doily I talked about back in part I:
I just couldn’t think of a way to incorporate this piece in its given rectanguler state. So my solution was to cut it up into individual 4-pointed stars. Also visible in this detail (below) is the log cabin block I received. I wanted to keep the red center square visible, so I avoided painting on it too much. The red in a traditional log cabin block represents the hearth, or “heart” of the home.
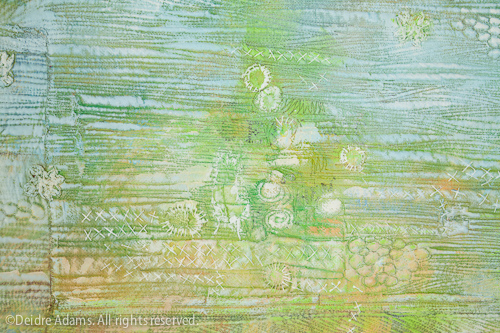
This photo (above) shows the area where the Celia’s Kitchen towel lives. I was very excited about the holes in this towel, which to me represent how much it was used and therefore loved, and how the experience of living on the plains is wrapped up in the spirit of frugality and the shunning of waste. I tried to accentuate the holes with machine quilting, followed by hand embroidery stitches.
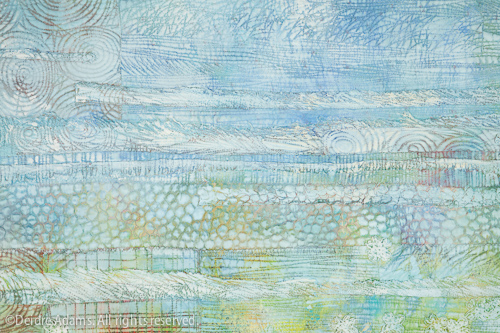
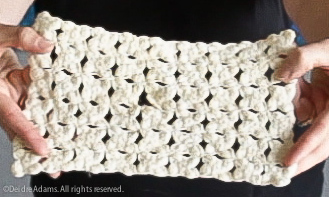
People who know me well might have a good laugh at this, but I have a bit of this non-wasting DNA in my own blood. Like many artists, I save a lot of weird stuff, thinking I’ll find it useful some day. (I have my understanding husband and my large basement to thank for supporting my habit.) In part 3, I talked about how after quilting and blocking, I trim off the edges of the piece to square it up. Well, with wool batting, some of these come out of the wash very beautiful and delicate, like a strange kind of lace. The trimmings are not discarded, and they frequently find themselves recycled into later work. You can see them in this photo – the textured strips came off of this very quilt and got put right back on. They work well for suggesting strata in landscapes and skyscapes.
This is fabulous to see the evolution of this gorgeous quilt!
This is fantastic! Thank you so much for sharing your process.
Hi, Gina & Stef – thanks so much for your comments!